
Updating Firmware
In the week leading up to Defcon 27, RFID Research Group released an app for Android devices that allows you to run commands previously restricted to a linux terminal discreetly in from your mobile phone. This new level of functionality is a game changer for the field applications of the Proxmark3 RDV4 and lets you take your RFID research on the road with ease. As of the day this article is posted, the current firmware from the Iceman/RRG repository is not compatible for use with the Android app, so you to get started using your Proxmark3 RDV4 in conjunction with your mobile device, you will need to manually download and install the following version of firmware directly from RRG at the following link:
https://www.dropbox.com/s/416lsrqpr2lfeis/%5BCompiled%5DPM3-RRG-20190812.rar?dl=0
To install the firmware to your Proxmark3 RDV4, you’re going to need to have a Linux system setup to connect to the device. If you do not already have your Proxmark3 set up in this way, please see the tutorial on setting up your device in Kali Linux here.
Important: If you have not already done so, remove or disable ModemManager on your system to avoid bricking your device during the flashing process. This problem is explained in the article linked above as well as in the official RRG Proxmark3 documentation on GitHub.
sudo apt remove modemmanager
Once you have your system configured appropriately and have downloaded the designated firmware for use with the Android app, you will have to extract and install the files to your system by executing the following commands:
mkdir proxmark3-fm-android-app
rar x Downloads/FILENAME.rar proxmark3-fm-android-app/
With the file successfully extracted to the directory you created, you can now connect the Proxmark3 RDV4 to your system and flash the bootloader and the full image. Navigate to the firmware and flash it to the device using the following commands:
cd proxmark3-fm-android-app/FILENAME
proxmark3 /dev/ttyACM0 --flash --unlock-bootloader --image bootrom.elf
proxmark3 /dev/ttyACM0 --flash --image fullimage.elf
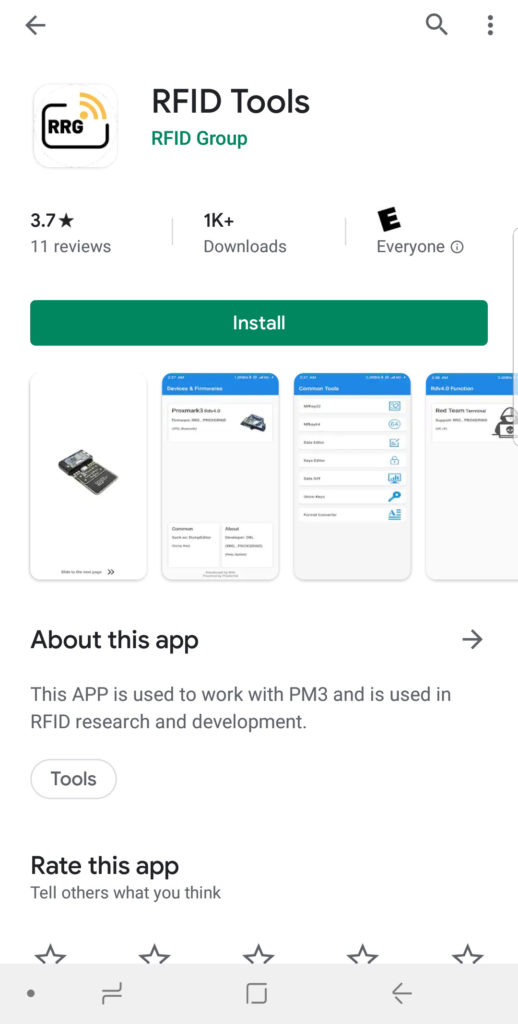
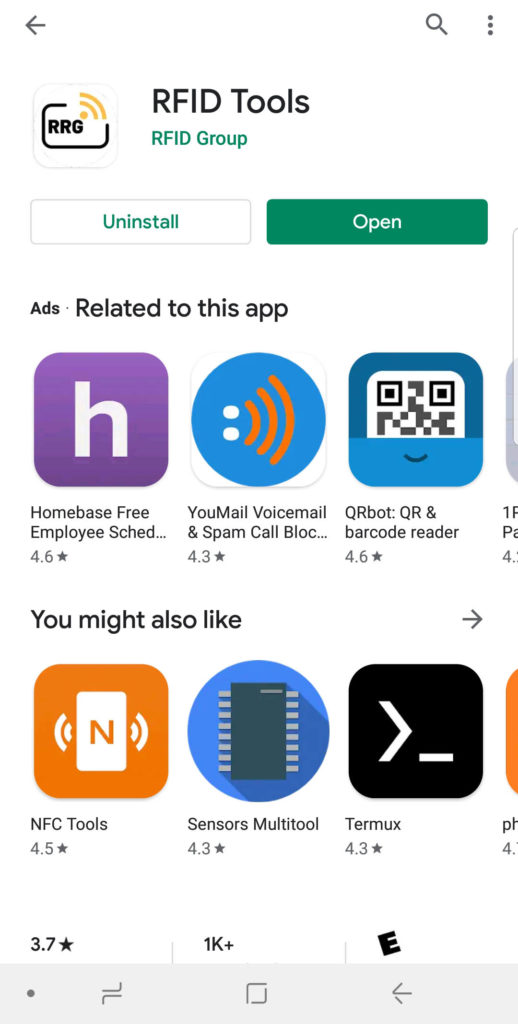
Now that you have the firmware successfully flashed to the Proxmark3 RDV4, you can disconnect the device from your Linux system and grab your Android device of choice (MIUI 10 & Android 9 or above) and open the Google Play App. Search for RRG RFID Tools. Download and install the app to your device.
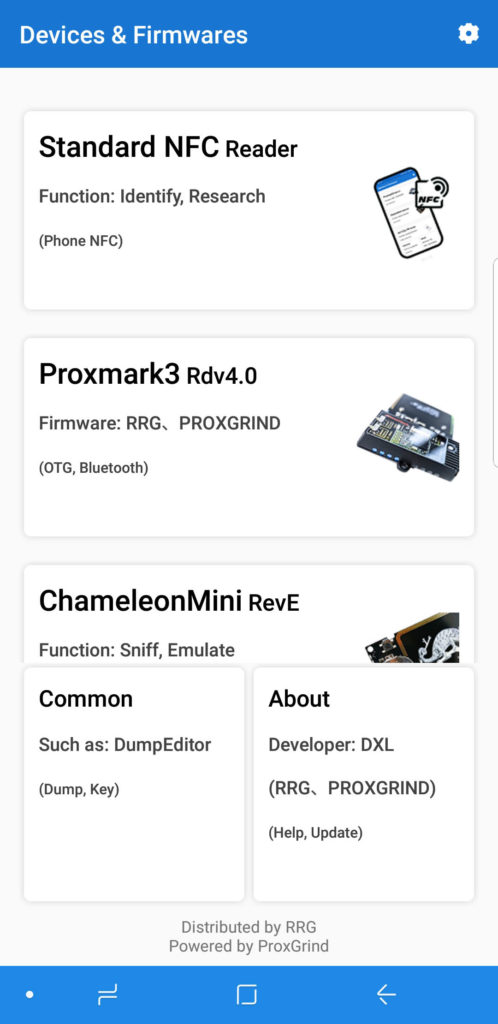
Make sure that the Blue Shark module is charged and the device is turned on. Open the RFID Tools app and follow the prompts to configure the software with your phone. You will be presented with a menu of device functionality including Standard NFC reader for using your phone’s NFC hardware, Promark3 RDV4.0, and ChameleonMini Rev E at your disposal. Select Proxmark3 RDV4.0 from this menu to begin pairing your Proxmark3 RDV4 to the app.
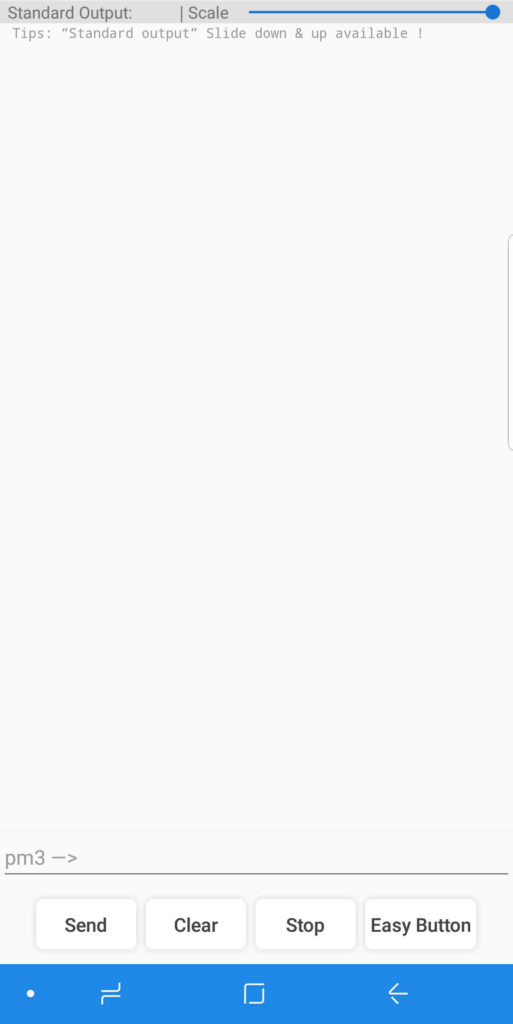
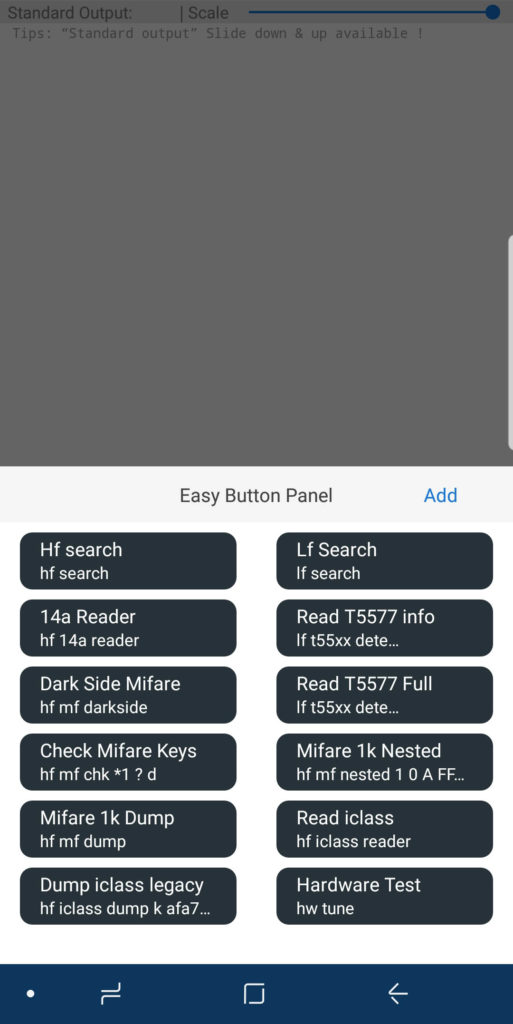
Once your app is properly connected to the Proxmark3 RDV4, you can interact with it using one of the two interfaces included with the app. The Red Team Terminal includes a terminal-like environment to execute commands just like in the standard Proxmark3 client. It even has a tray of “easy buttons’ for standard actions.
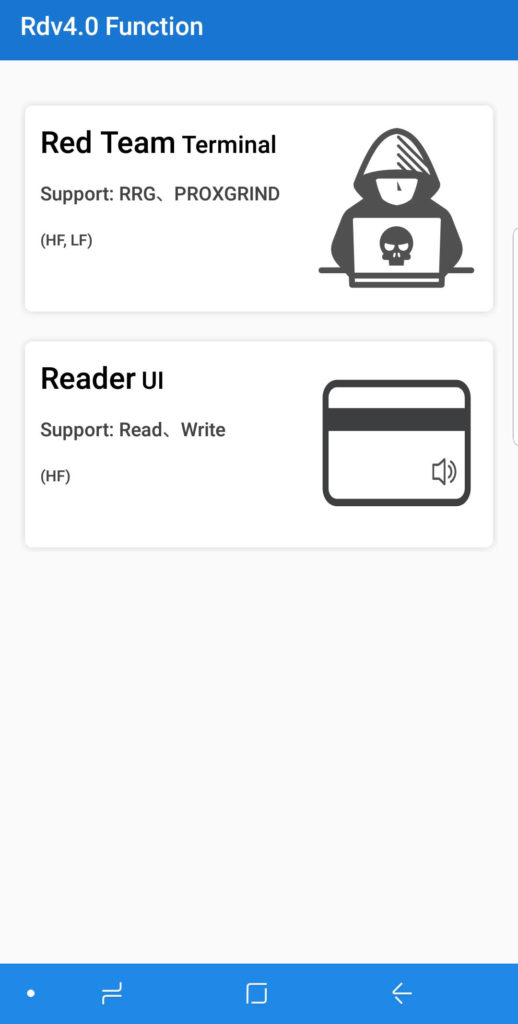
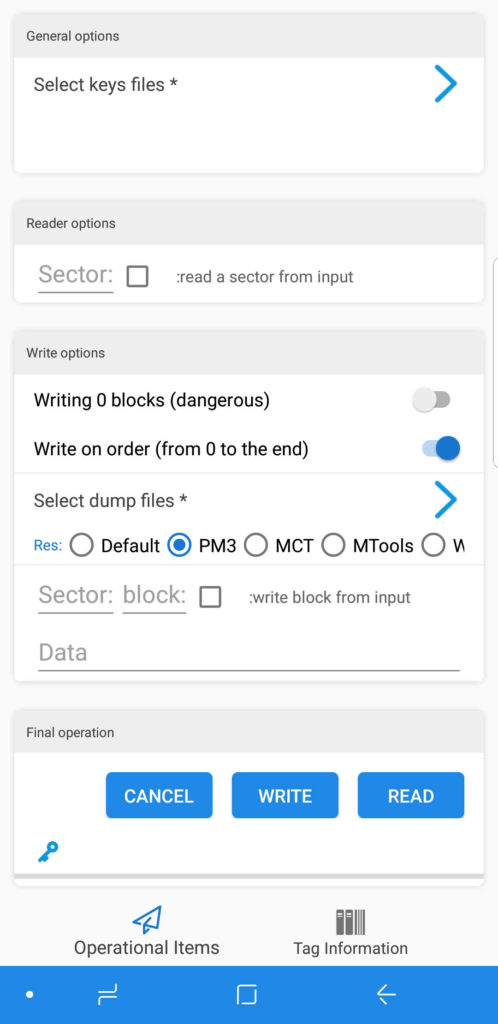
The Reader UI interface allows you to interact with saved NFC key files and reader/writer settings using a menu-style environment.
That concludes the scope of this article, but there is plenty more to learn about the app and how to use it with you Proxmark3 RDV4. Be sure to stay tuned to HackerWarehouse.TV for more tutorials on RFID research using this powerful set of tools!
Although the Proxmark3 RDV4 is by far the most feature-rich and field-capable device in RFID research and security testing, you may want to check out some other great RFID devices such as the Chameleon Mini RevE and the Keysy, offering some of the same functionality as the RDV4.
Project Resources
Setting up the Proxmark3 RDV4 in the RRG RFID Tools Android App
In Kali Linux
Updating and Installing Proxmark3 RDV4 Firmware for Use with Android App
1. Download the precomipiled firmware variant by RRG from the following link
https://www.dropbox.com/s/416lsrqpr2lfeis/%5BCompiled%5DPM3-RRG-20190812.rar?dl=0
2. Create a new directory for this firmware to reside
mkdir proxmark3-fm-android-app
3. Extract the downloaded firmware to the directory created above
rar x Downloads/FILENAME.rar proxmark3-fm-android-app/
4. If you have not already removed ModemManager from your system, do so now
sudo apt remove modemmanager
Flashing Firmware to the Proxmark3 RDV4
1. Navigate to the directory for the new firmware
cd proxmark3-fm-android-app/FILENAME
2. Flash the bootloader image to the device
proxmark3 /dev/ttyACM0 --flash --unlock-bootloader --image bootrom.elf
3. Flash the full image to the device
proxmark3 /dev/ttyACM0 --flash --image fullimage.elf
In Android OS
Installing the RRG RFID Tools App
1. Open Google Play and search for RRG RFID Tools
2. Download and install the app using the Android UI
3. Open the RFID Tools app
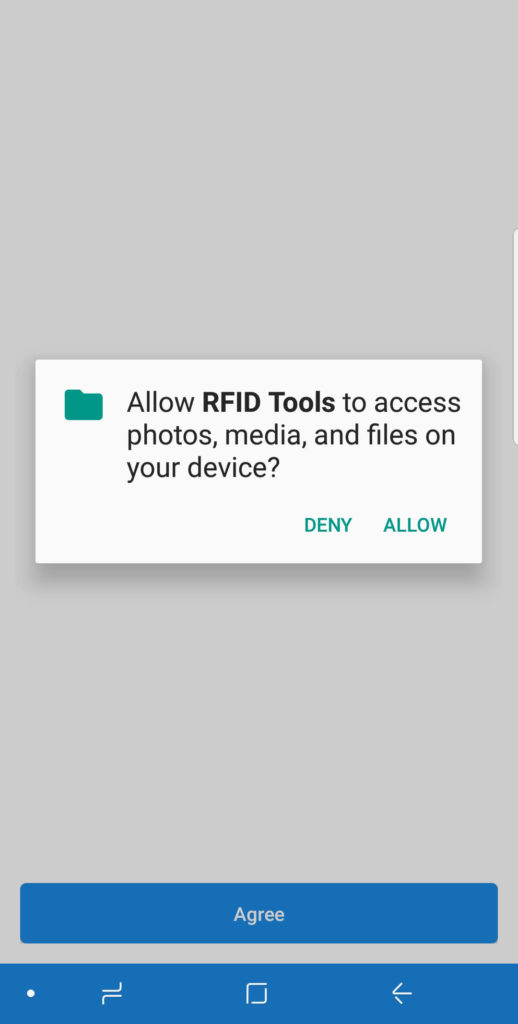
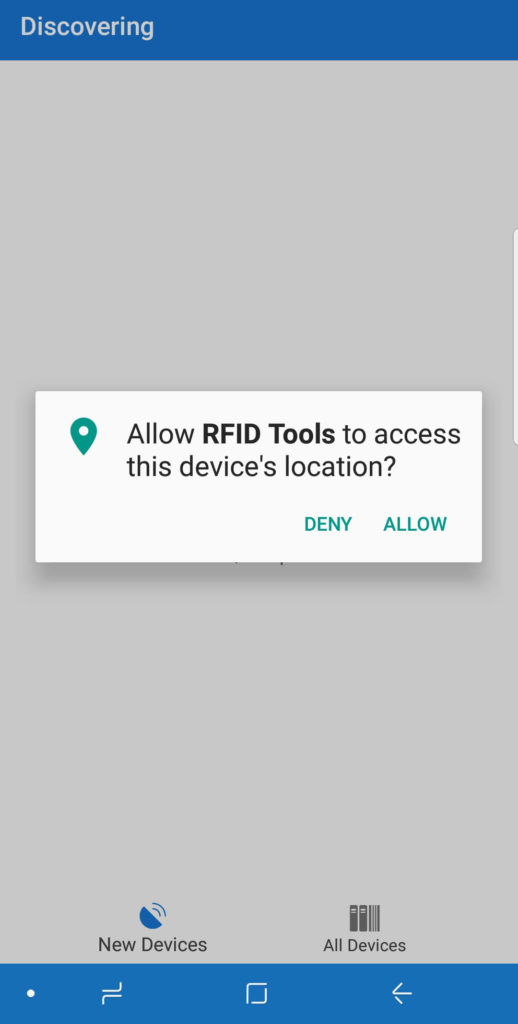
4. Apply requested permissions to device
5. Turn your Proxmark3 RDV4 device on and supply power to the bluetooth module using the dip switches on the Blue Shark module
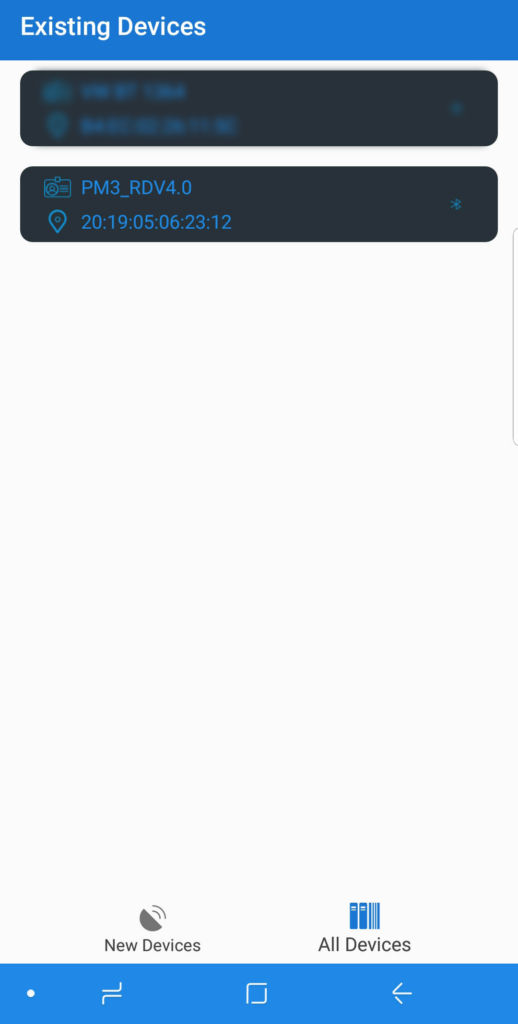
6. Tap the Proxmark3 RDV4 device in the app UI
7. Locate the Proxmark3 from the list of the available devices
8. Connect to the device
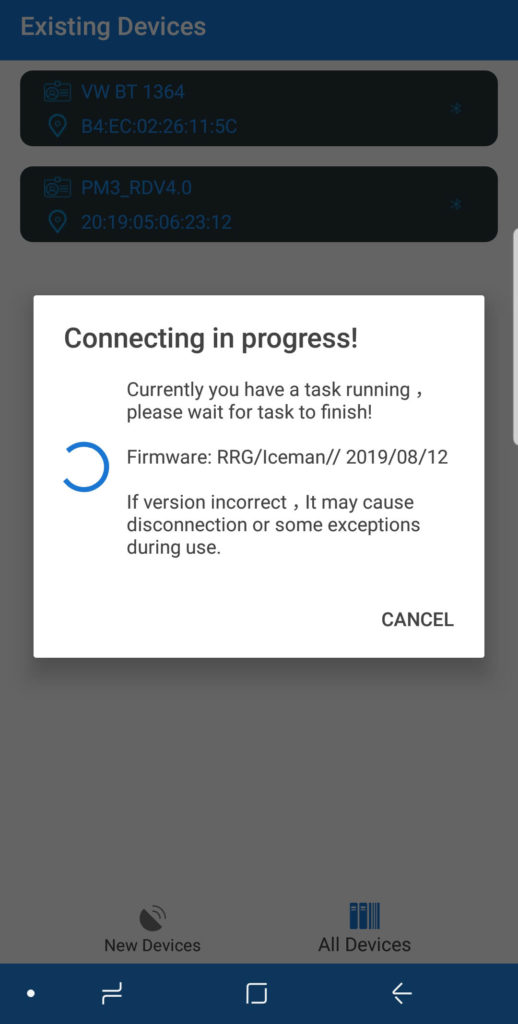
9. Use the 4-digit security key provided by the app to securely connect to the device
10. Access device funtionality through the Red Team Terminal or the Reader UI interfaces