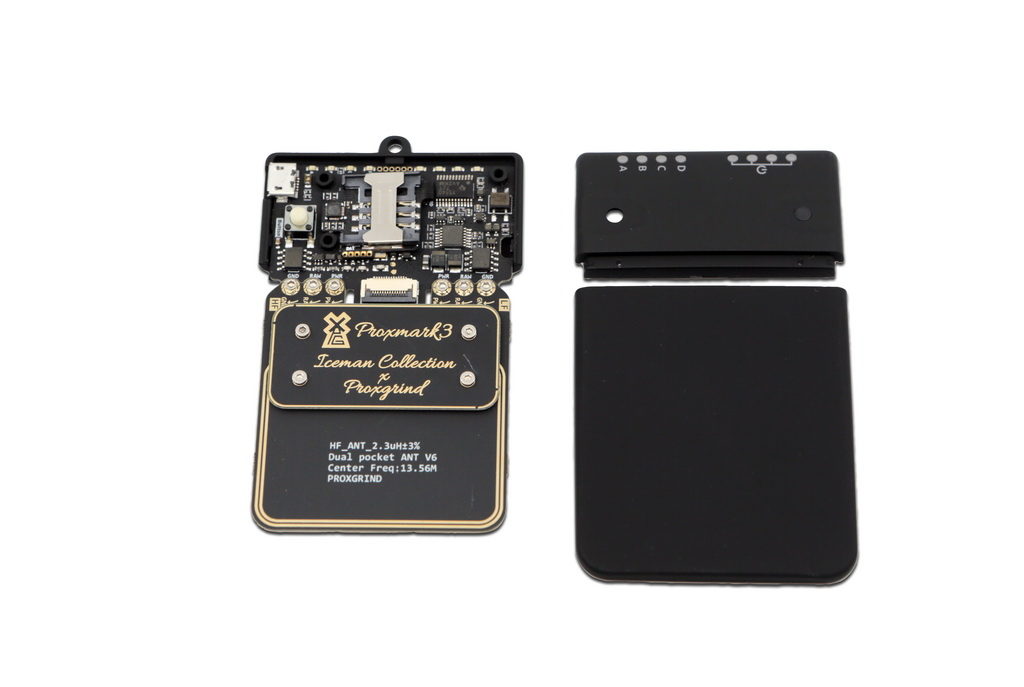
In this post, we’re going to review the update procedure just in case you want a little refresh on this and then we’re going to move into the world of Low Frequency RFID, sniffing, cloning, emulating, EM4X tags, and the fabulous T55x7 card.
Ok, let’s start with the update procedure:
$ make clean
$ export PATH=$PATH:/YOUR_PATH_TO/gcc-arm-none-eabi-4_7-2013q2/bin/
(maybe you will also need LUA >= 5.2.1)
$ make all
$ cd client
$ ./flasher /dev/tty.usbmodemfa131 -b ../bootrom/obj/bootrom.elf
(check that your tty might be different)
Disconnect, reconnect.
$ ./flasher /dev/tty.usbmodemfa131 ../armsrc/obj/fpgaimage.elf
(again, check that your tty might be different. In case it hangs up during the update, disconnect the board and while connecting it, keep the button pressed, and reflash while maintaining the button pressed)
and finally:
$ ./flasher /dev/tty.usbmodemfa131 ../armsrc/obj/osimage.elf
Now, you’re ready to load the client:
$ ./proxmark3 /dev/tty.usbmodemfa131
proxmark3>
You’re good if you’re here! 😉
Well, now a few tips about Low Frequency (LF) RFID:
- You’ll need to connect your LF antenna to the Proxmark3 board
- Usually tuned at 125khz and 134khz. Most of the tags are working at 125khz
- These tags are generally being used for entry systems, at big companies, houses, car parking barriers, etc.
- Two big well-known trademarks around this: EM and HID.
We’re going to sniff an EM41XX type of tag using the Proxmark3 like this, it’s really easy. Put your antenna near (a few cm. will be fine) the badge you want to sniff and run:
proxmark3> lf em4x em410xwatch
#db# buffer samples: 79 78 78 78 78 78 4c 23 …
Reading 16000 samples
Done!
Auto-detected clock rate: 64
Thought we had a valid tag but failed at word 1 (i=45)
Thought we had a valid tag but failed at word 1 (i=109)
Thought we had a valid tag but failed at word 1 (i=173)
Thought we had a valid tag but failed at word 1 (i=237)
EM410x Tag ID: 34003aca60
Unique Tag ID: c200c53560
You’ll get the EM41XX tag ID in just a microsec! Take note of it. From here we have two possibilities: Emulate it and Clone it.
In order to emulate it, just run this command:
proxmark3> lf em4x em410xsim 34003aca60
Sending data, please wait…
Starting simulator…
proxmark3>
You will notice that it takes ~15 seconds in order to start the simulator. That’s normal. Then, you’ll see the led on the Proxmark3 board on; that means that it’s simulating the tag we sniffed. Approach your antenna to the card reader, and you’re in!
In order to clone the tag that we sniffed, we are going to use a T55X7 tag but you can also use a Q5 tag (T5555). T55X7 cards are available at our store though.
Put your T55x7 over the LF antenna and run:
proxmark3> lf em4x em410xwrite 34003aca60 1
Writing T55x7 tag with UID 0x34003aca60 (clock rate: 64)
#db# Started writing T55x7 tag …
#db# Clock rate: 64
#db# Tag T55x7 written with 0xff992001a98a301c
You can run it twice, just in case.
Now, you can just approach the card reader with our new cloned card and you’ll see that you’re in again, but this time, as a stealthy ninja!
There are a lot of systems using EM tokens as keys. All of them could be “hacked” using the above instructions, just in a few seconds and wirelessly. Scary, right?!
2018-01 Note: This article was written using the original design of the proxmark3, which was created several years ago. The process information is still valid, but the new device looks completely different so the pictures aren’t currently accurate.


