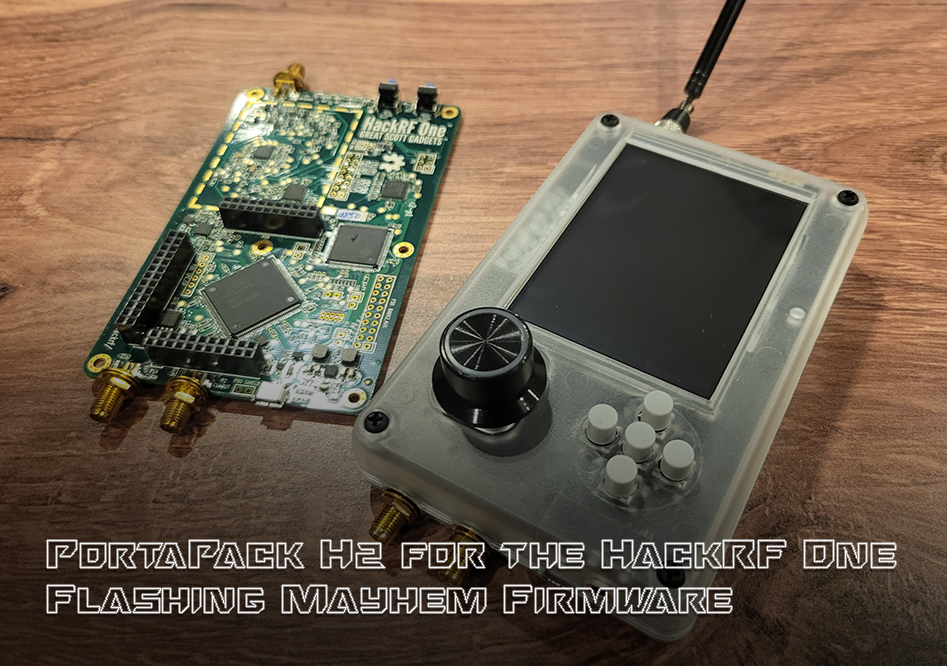
The PortaPack H2 combines with the HackRF One to provide a standalone SDR device complete with full color LCD screen, internal battery, and input buttons for the user interface. The standard firmware includes a suite of tools specifically designed for RF research both in the field and lab, but many users prefer the infamous Mayhem firmware for their research and pen testing pursuits. The procedure for installing the PortaPack H2 Mayhem firmware by Erwin Ried to your HackRF One is detailed below.
PortaPack h2 board variations
The constantly evolving state of chip set availability has lead to several variations of the H2 board popping up in the marketplace. There are known compatibility issues between different versions of the hardware and firmware in distribution – caveat emptor. This guide is verified to be compatible with the PortaPack H2 sold at Hacker Warehouse.
DFU MODE
The HackRF One does not need to be booted up in Device Firmware Update (DFU) mode to flash the firmware, however users should be familiar with the procedure when flashing custom or experimental builds. The device can be easily recovered from firmware failures by using DFU mode to reflash the default configuration.
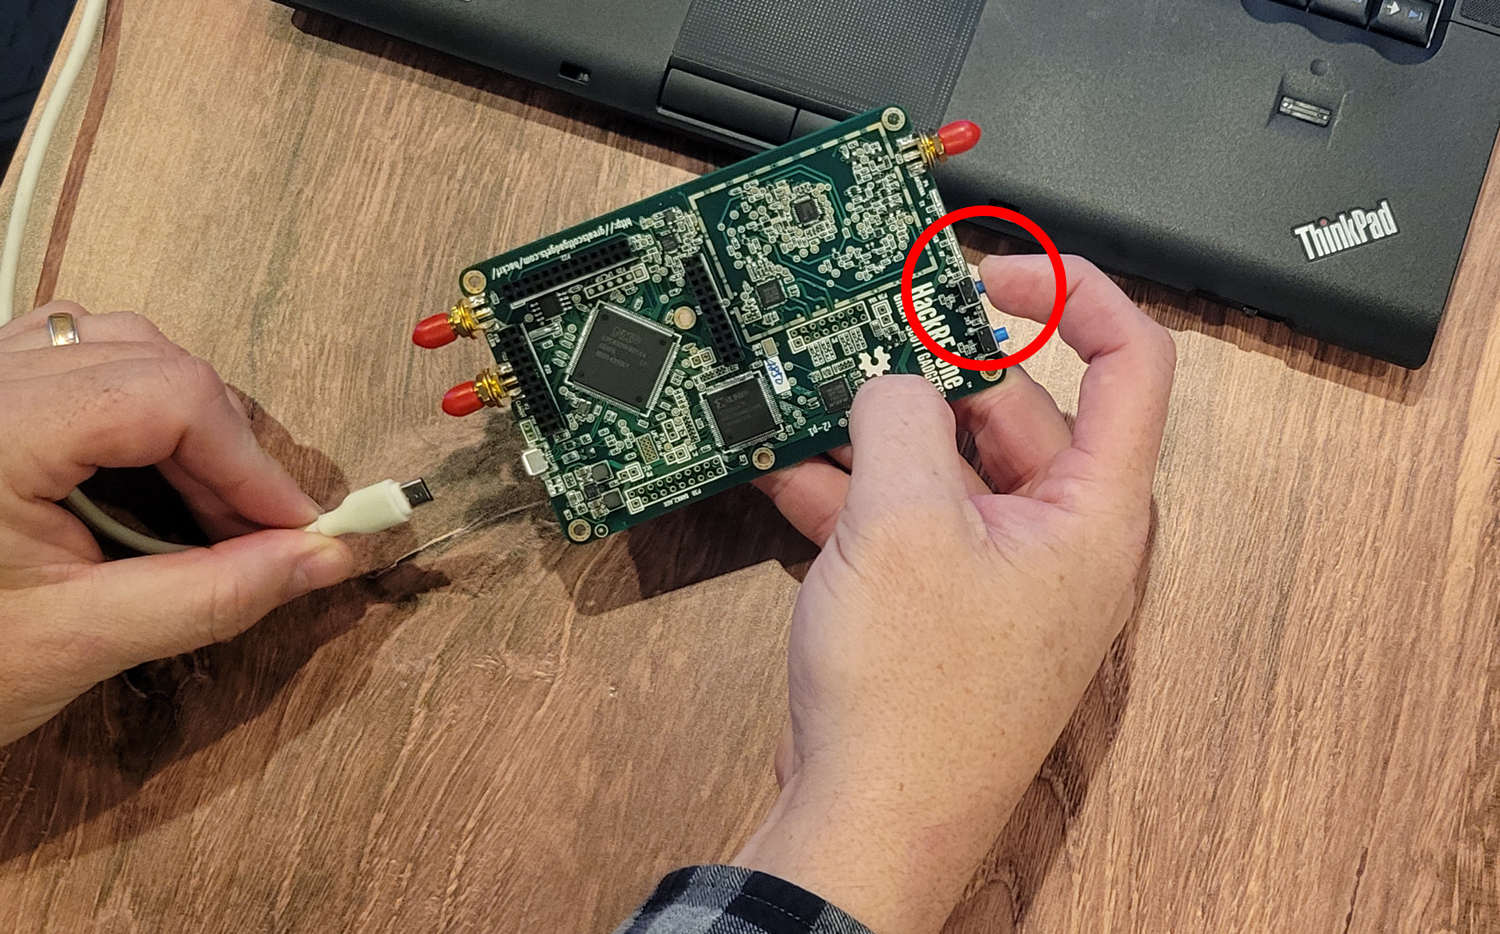
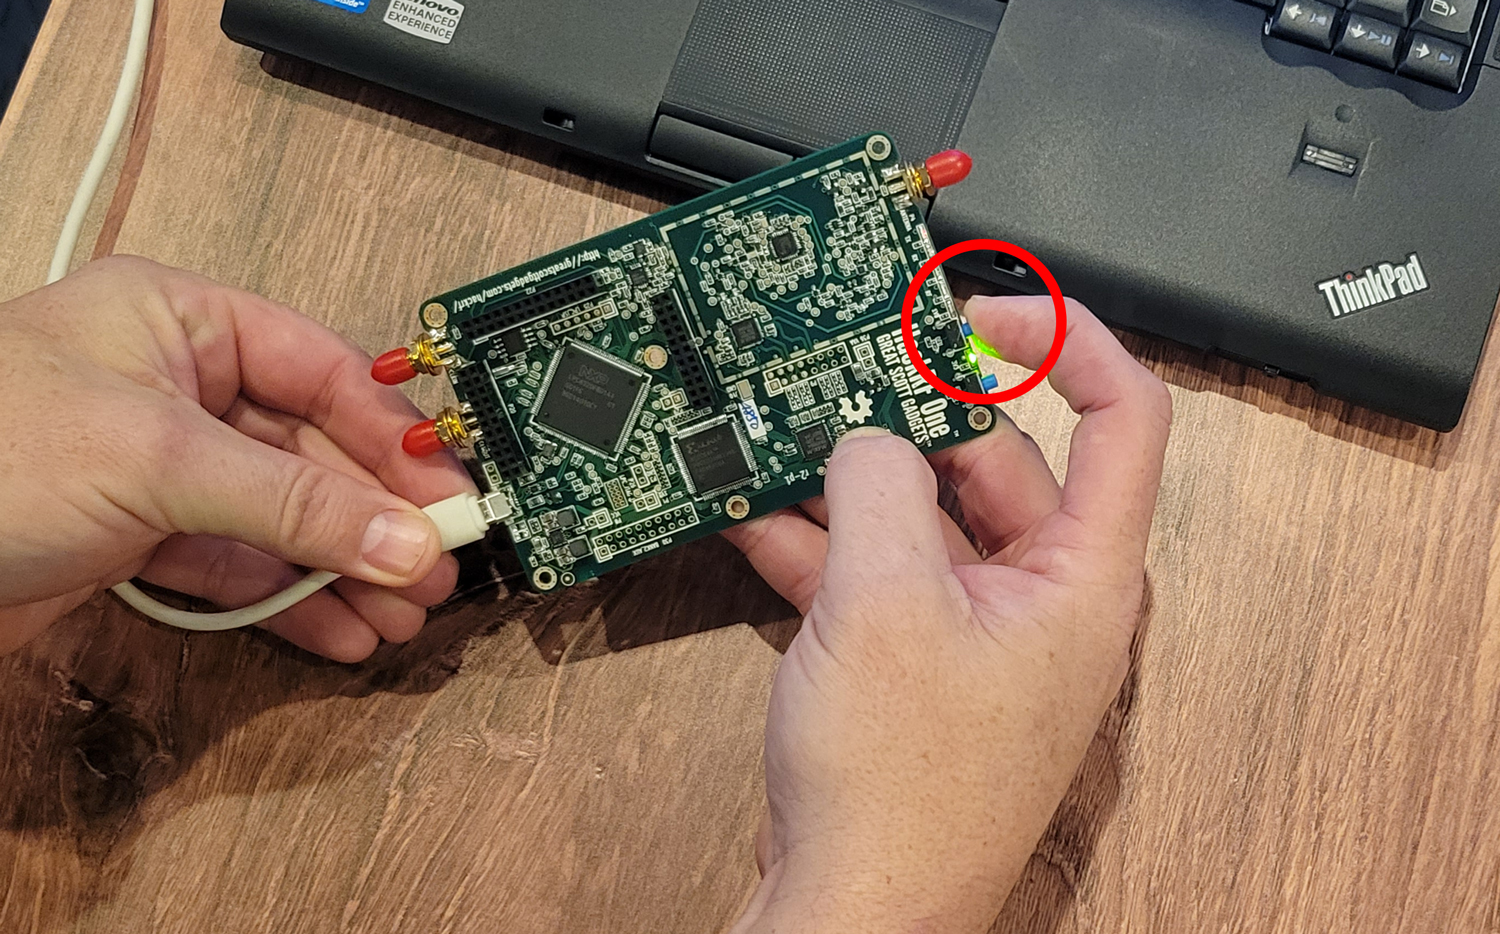
To boot to DFU mode, hold the left-most blue button on the top of the device when powering it on. The device is powered on my plugging it to your workstation via USB, so simply hold the button down before doing so. There will be a single green LED lit next to the button to indicate the device is ready to be flashed.
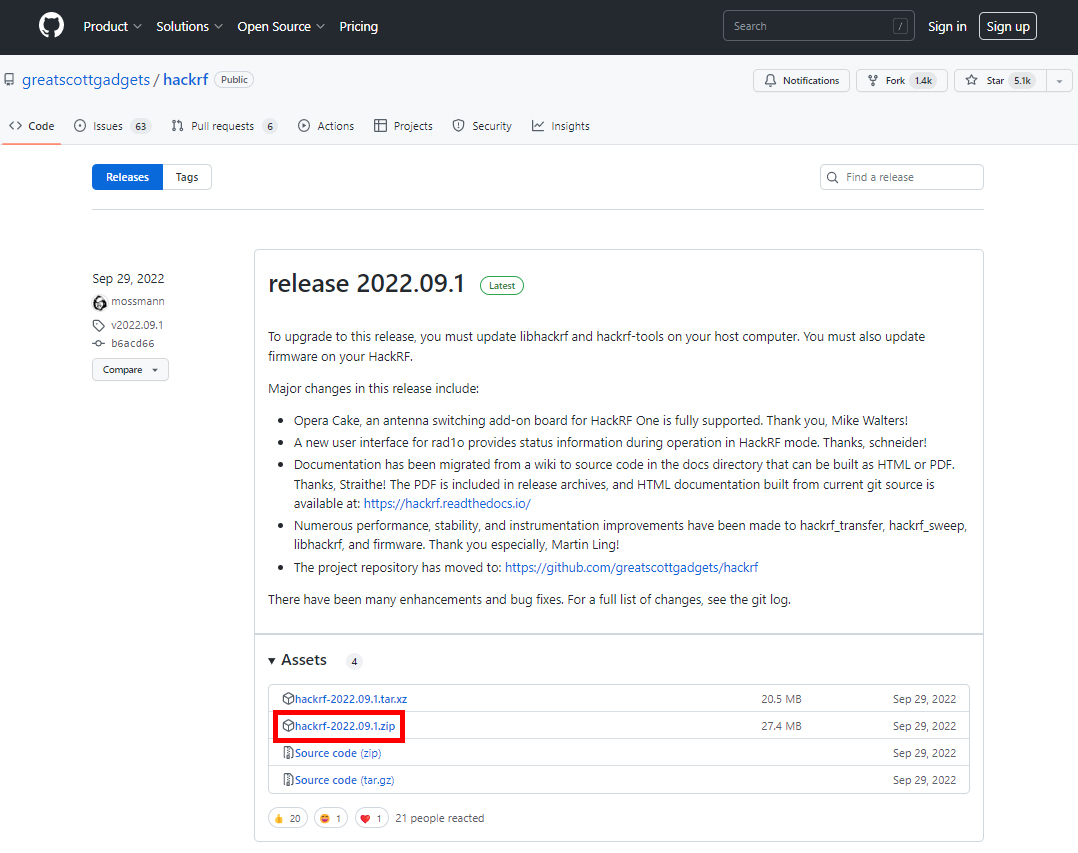
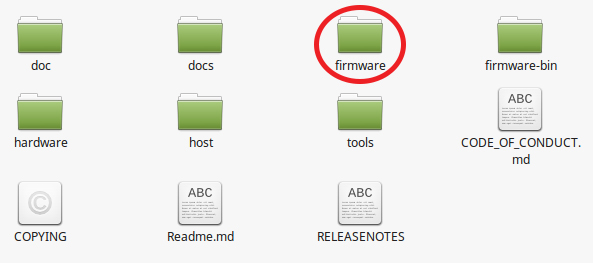
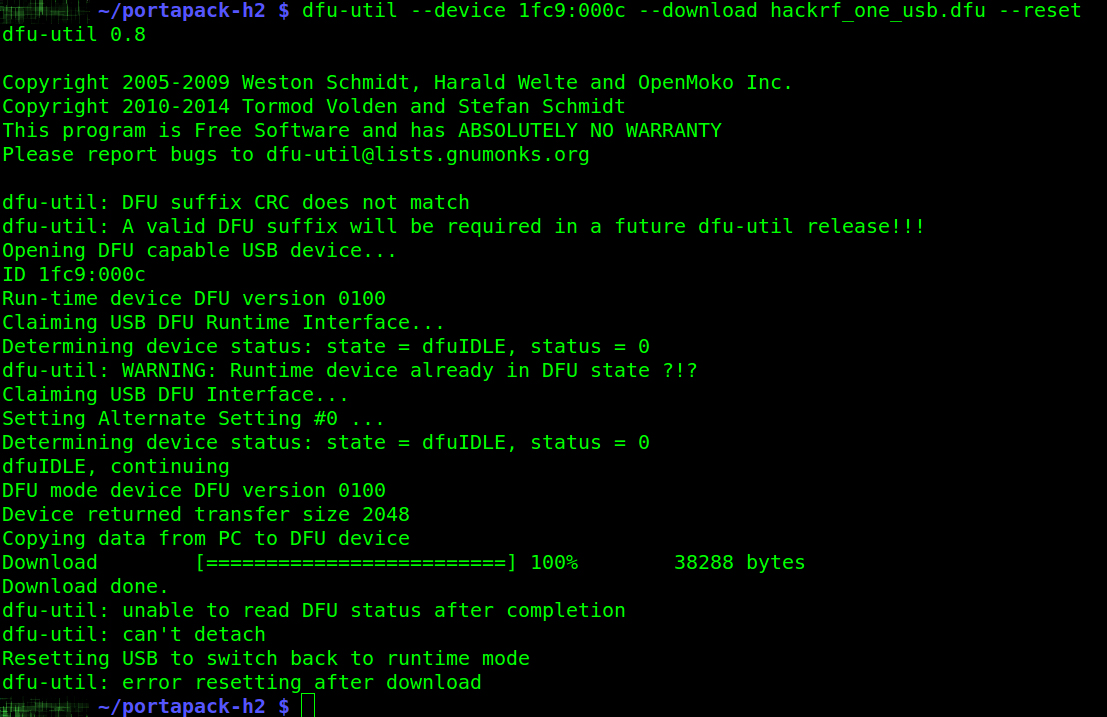
The default firmware for the HackRF One can be found on the project’s GitHub page. Download and extract the archive to your workstation. Linux users will need the file called “hackrf_one_usb.dfu“, which is located in the firmware directory of this archive, and open up a terminal window. While the device is connected and in DFU mode, cd to location of the HackRF DFU file. Run the following command to initiate the flashing process:
dfu-util --device 1fc9:000c --download hackrf_one_usb.dfu --reset
Windows users should refer to the Windows section of the procedure below, as the Mayhem firmware archive contains Windows-specific tools for recovering the original HackRF One device firmware.
Flashing Procedure
Download the firmware
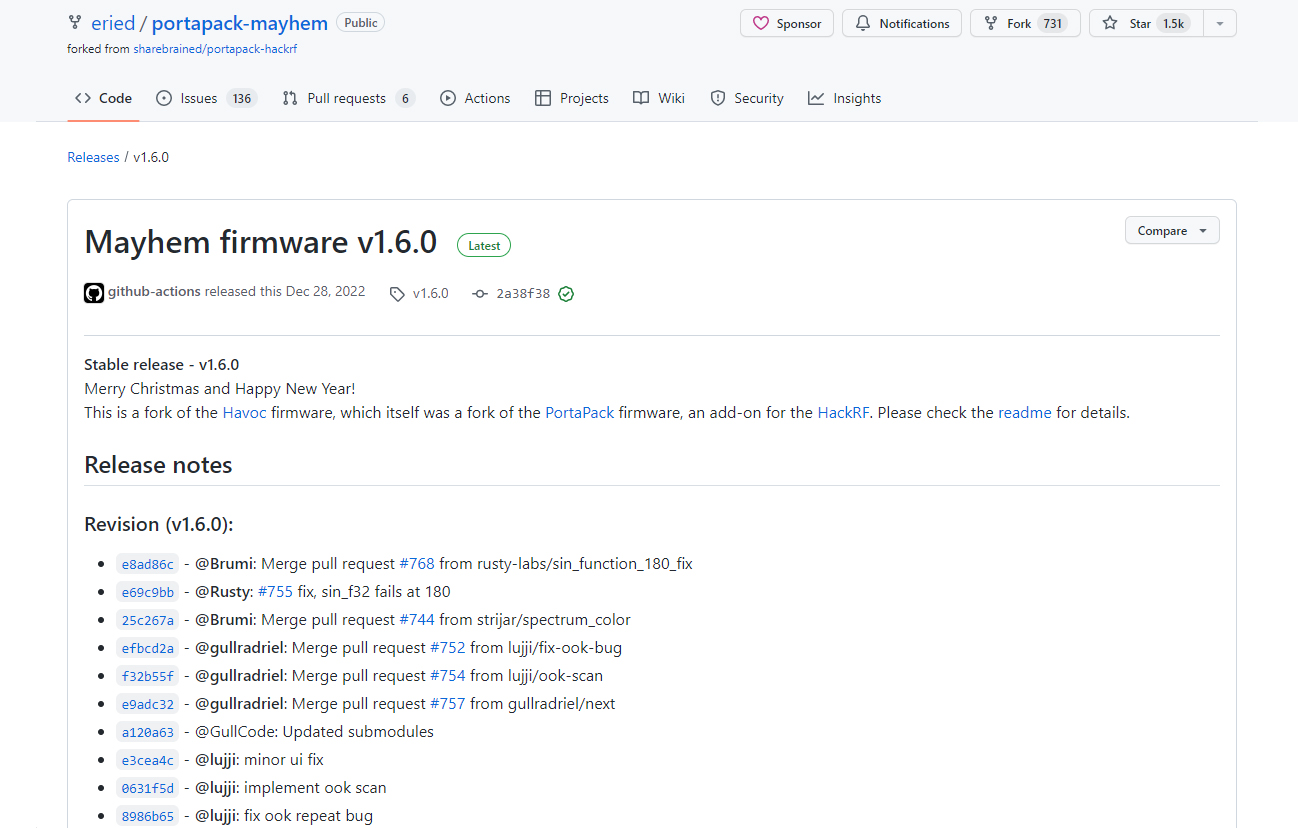
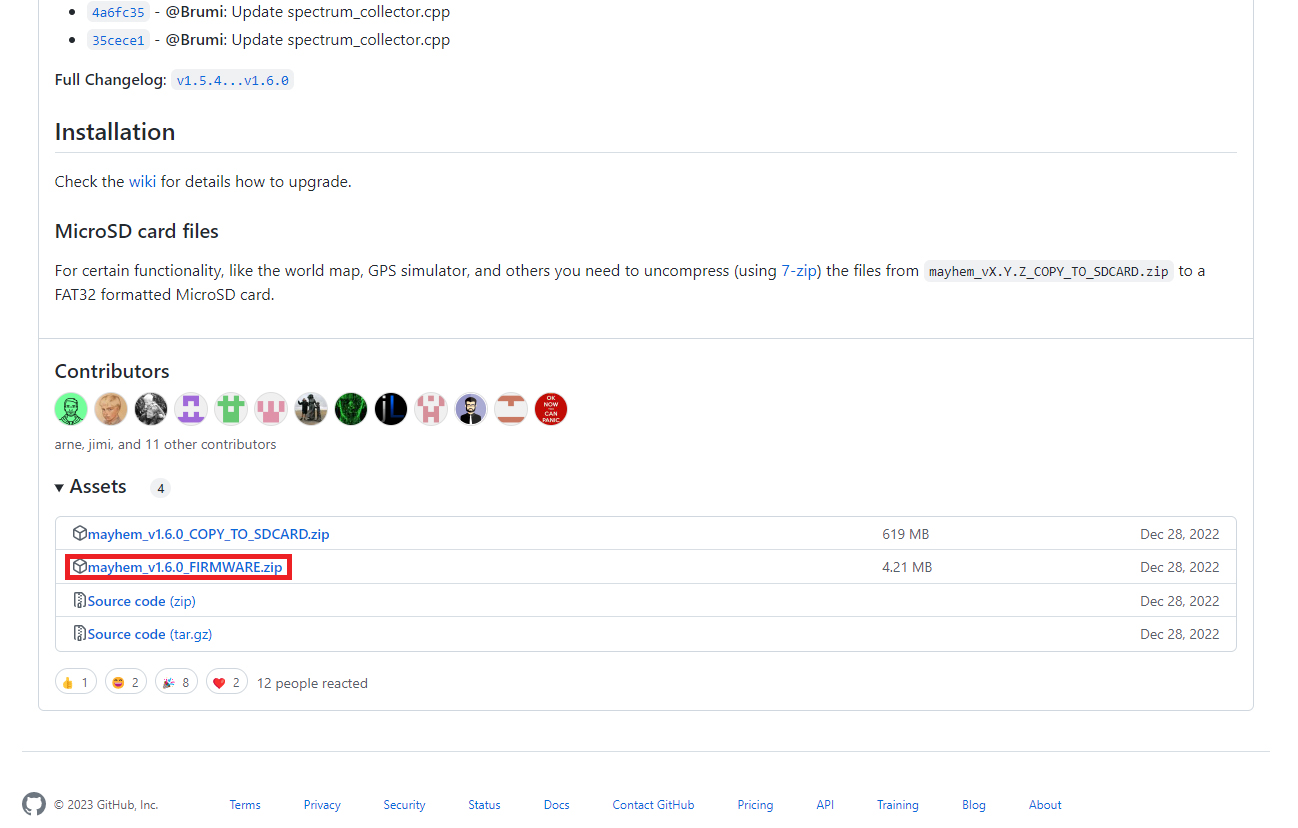
Everything that you need will be on the Mayhem project’s GitHub page, specifically the release page. Download the firmware archive, and extract the file called portapack-h1_h2-mayhem.bin. We created a directory called “mayhem” in our “portapack-h2″ folder and placed it here for simplicity, but you can organize these resources however you like.
FLASHING
Linux users will find this process very straightforward, but you must have a few tools installed before starting: dfu-util version 0.8 or higher and the host tools that come with the HackRF software from Great Scott Gadgets – hackrf_spiflash in particular. If you’re already running the HackRF via your Linux installation or have successfully flashed the Sharebrained firmware, then you have everything you need. Just plug the device into your workstation via USB and open a terminal window. Change directories (cd) into the location of the Mayhem firmware and rewrite the SPI flash memory by running the following command:
hackrf_spiflash -w portapack-h1_h2-mayhem.bin
When the process is finished, simply unplug the HackRF from your workstation and the next time it boots, it will be running the new firmware. Note that you will not be able to utilize any of the firmware’s functionality without the addition of the PortaPack board.
Don’t panic if the screen flickers but then stays black – it is common for PortaPack H2 boards to require pressing the Left Button during the first boot up to activate the LED screen drivers. Just try again while holding it down for a few seconds and you should see a menu screen as in Figure 5b.
Download Flashing Software
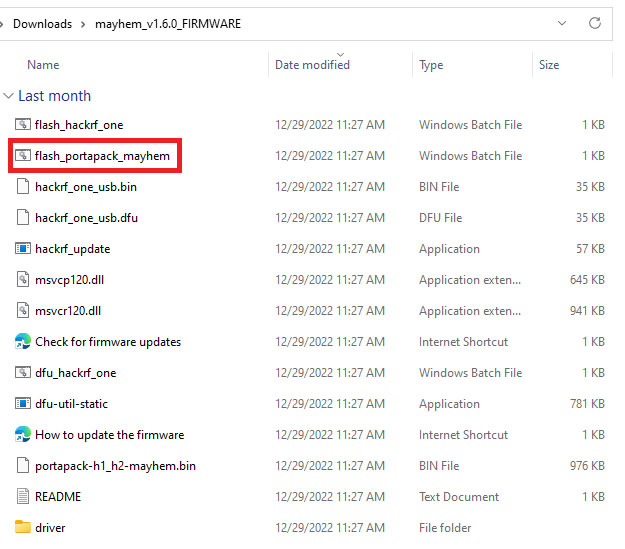
The Mayhem firmware archive includes a flashing tool for Windows that largely automates the process. This is bundled with the firmware archive on the release page for the Mayhem project – we recommend avoiding the nightly builds and sticking to stable versions (v1.6.0 as of the time of publishing this article). Download and extract this to your PC and run the file called “flash_portapack_mayhem.bat“. You will need to have the HackRF and NXP LPC DFU drivers installed – if you do not, these are included with the firmware archive in a folder called “driver“.
Flashing Software
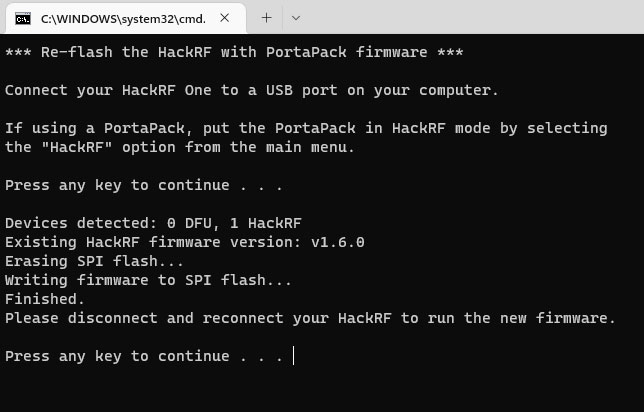
To flash the Mayhem firmware to your device, run the batch file “flash_portapack_mayhem.bat” located in the extracted archive. This will open a terminal window and walk you through a few prompts. Simply follow the instructions on screen to complete the flashing process.
When the process is finished, simply unplug the HackRF from your workstation and the next time it boots, it will be running the new firmware. Note that you will not be able to utilize any of the firmware’s functionality without the addition of the PortaPack board.
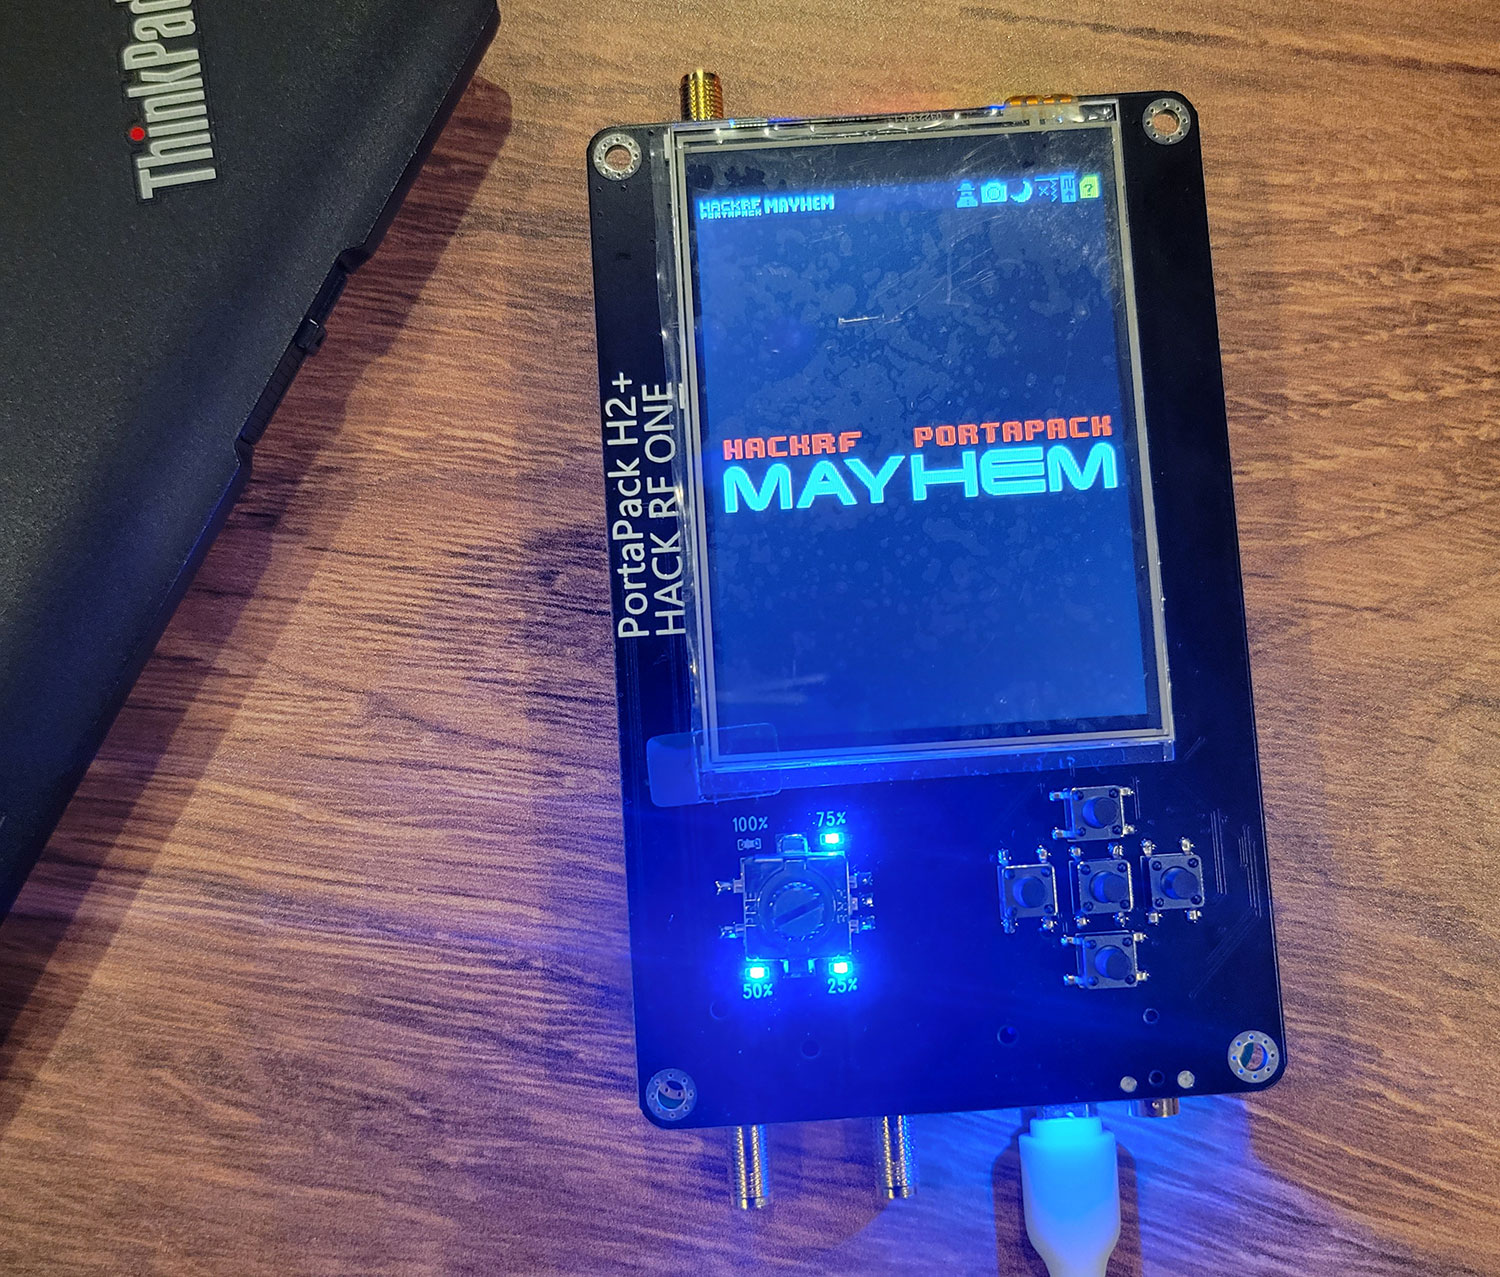
Don’t worry if the screen remains black after booting – it is common for PortaPack H2 boards to require pressing the Left Button during the first boot up to activate the LED screen drivers. Try booting up again while holding it down for a few seconds and you should see a menu screen as in Figure 8.
Restoring hackrf firmware in Windows
The Mayhem firmware archive also contains .bat files for restoring the default HackRF One firmware. To overwrite the binary file to SPI flash memory, simply locate and run the file called “flash_hackrf_one.bat” with the device connected to your workstation and the UI set to “HackRF Mode“. To reflash via DFU, reboot/plug the device into your workstation while holding the leftmost blue button at the top of the HackRF, and then run the file called “dfu_hackrf_one.bat” to restore the device to factory condition.
SD CARD DIRECTORY
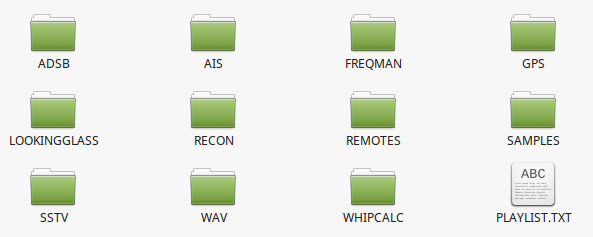
The PortaPack H2 features a SD card slot for device storage and the Mayhem firmware requires some additional files to utilize the full range of functions. We recommend using a micro SD card 64 GB or more formatted as exFAT. Simply download and extract the archive of the SD Card directory located on the same page the firmware is posted and copy that into the storage drive. Insert this card into the slot at the top of the PortaPack, reboot the device, and you are good to go.
PORTAPACK ASSEMBLY
The PortaPack needs to be assembled before the device is fully functional. When purchased from Hacker Warehouse, the PortaPack H2 will come with an injection-molded clear plastic case, internal battery, and all the fasteners required for assembly. Check out our assembly guide before taking your device out into the field. Don’t forget that you will need frequency-range appropriate antennas for your desired applications.
The HackRF PortaPack with Mayhem firmware should be considered mandatory for any RF researcher or red teamer’s toolkit. We will continue to explore the capabilities of this device through tutorials and tradecraft. If you haven’t already picked one up for yourself, go to Hacker Warehouse for everything you will need to get started right now. In the meantime, keep it between the laws and keep it between the LOLs.

